Emails
This section details setting up email delivery with your email service and customizing the content templates to match your brand and messaging.
Server configuration
One of the first things you will need to do when getting a Keycloak Realm ready for use is to set up your email server configuration. There are many system emails that are sent to users in the course of verifying and updating user accounts: Email address verification, magic links, password reset, account update, login failure notifications, identity provider linking, etc.
In order to provide your users with a positive experience, these messages need a way to get to them. Keycloak supports any internet reachable SMTP server. If you are currently testing, and don't have an email server or service that you currently use, SendGrid provides free accounts that allow you to send up to 100 emails per day forever. For debugging, you can also use a service like MailTrap to give you a catch-all for emails coming from Keycloak.
In the Admin UI, select Realm settings in the left menu, and then click the Email tab.
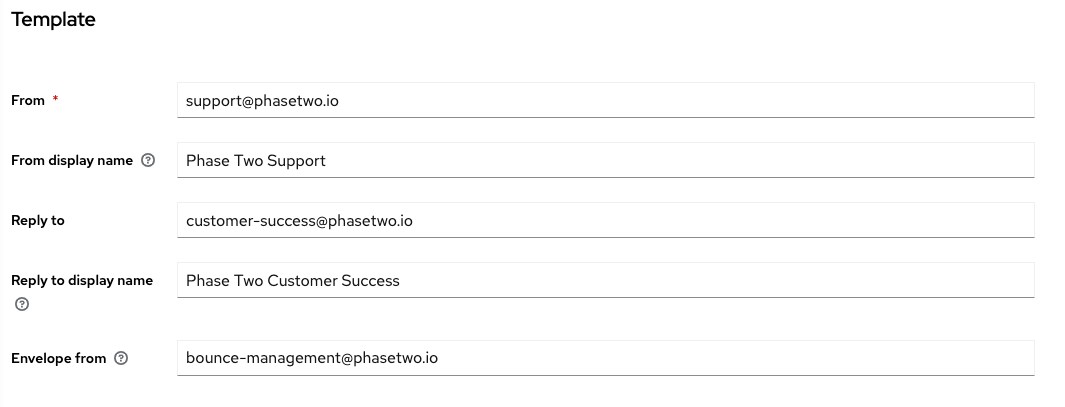
In the first section, labeled Template, you will set options that will be used in the templates for the emails that are sent to your users. The only required field is the From field, which must contain the email address the user will see the email originating from. This should be an email address that your email server is expecting, and it will not block for authorization reasons.
The other fields in the Template section are not required, but will enhance how your emails look:
- From address used to send emails (required)
- From display name a user-friendly name displayed along From
- Reply to an email address that will be used by email clients when your user replies to an email
- Reply to display name a user-friendly name displayed along Reply to
- Envelope from Bounce Address used for the mails that are rejected
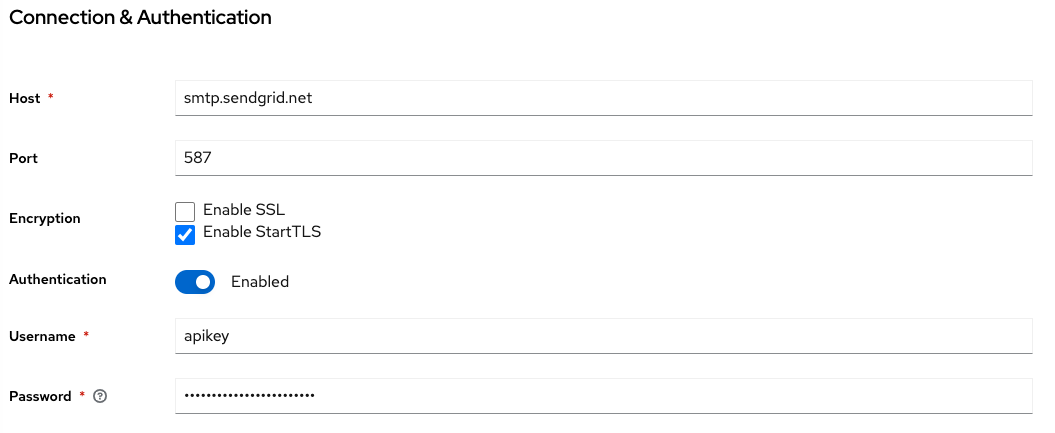
In the Connection & Authentication section, you will provide details of your SMTP server:
- Host indicates the SMTP server hostname used for sending emails
- Port indicates the SMTP server port (usually 25, 465, 587, or 2525)
- Encryption support encryption for communication with your SMTP server
- Authentication if your SMTP server requires authentication, and supply the Username and Password

Finally, before you click Save, click the Test connection button to send a test email to the email address of the currently logged in user. If you don't have that set, you might have click Save and edit your user before you come back. You'll receive a success message, or information that will help you resolve problems.
Email Branding
Email branding is configured in Extensions > Styles > Email. These settings control the logo and footer that appear in every outgoing system email.
The phasetwo-ui email theme must be active for branding to take effect. If your realm is using a different email theme, a warning banner will appear with an Activate button that switches it automatically. If you are on the older attributes or attributes-v2 themes you will see an Upgrade to phasetwo-ui prompt instead.
Logo
Upload your logo as an image file (PNG or SVG recommended, max 1 MB). It is base64-encoded and embedded directly in outgoing emails so it appears reliably across email clients — no external image hosting required. It renders at up to 160 × 60 px in the email body. If no logo is uploaded, the Phase Two logo is used as the default.
This is separate from the login page logo. To set the logo for login and account pages, use the General tab.
Footer
Two optional footer lines appear at the bottom of every email, separated by a line break:
- Footer line 1 — defaults to the realm's display name if left blank.
- Footer line 2 — optional tagline, contact address, or any secondary text.
Both lines appear above a "Powered by Phase Two" attribution.
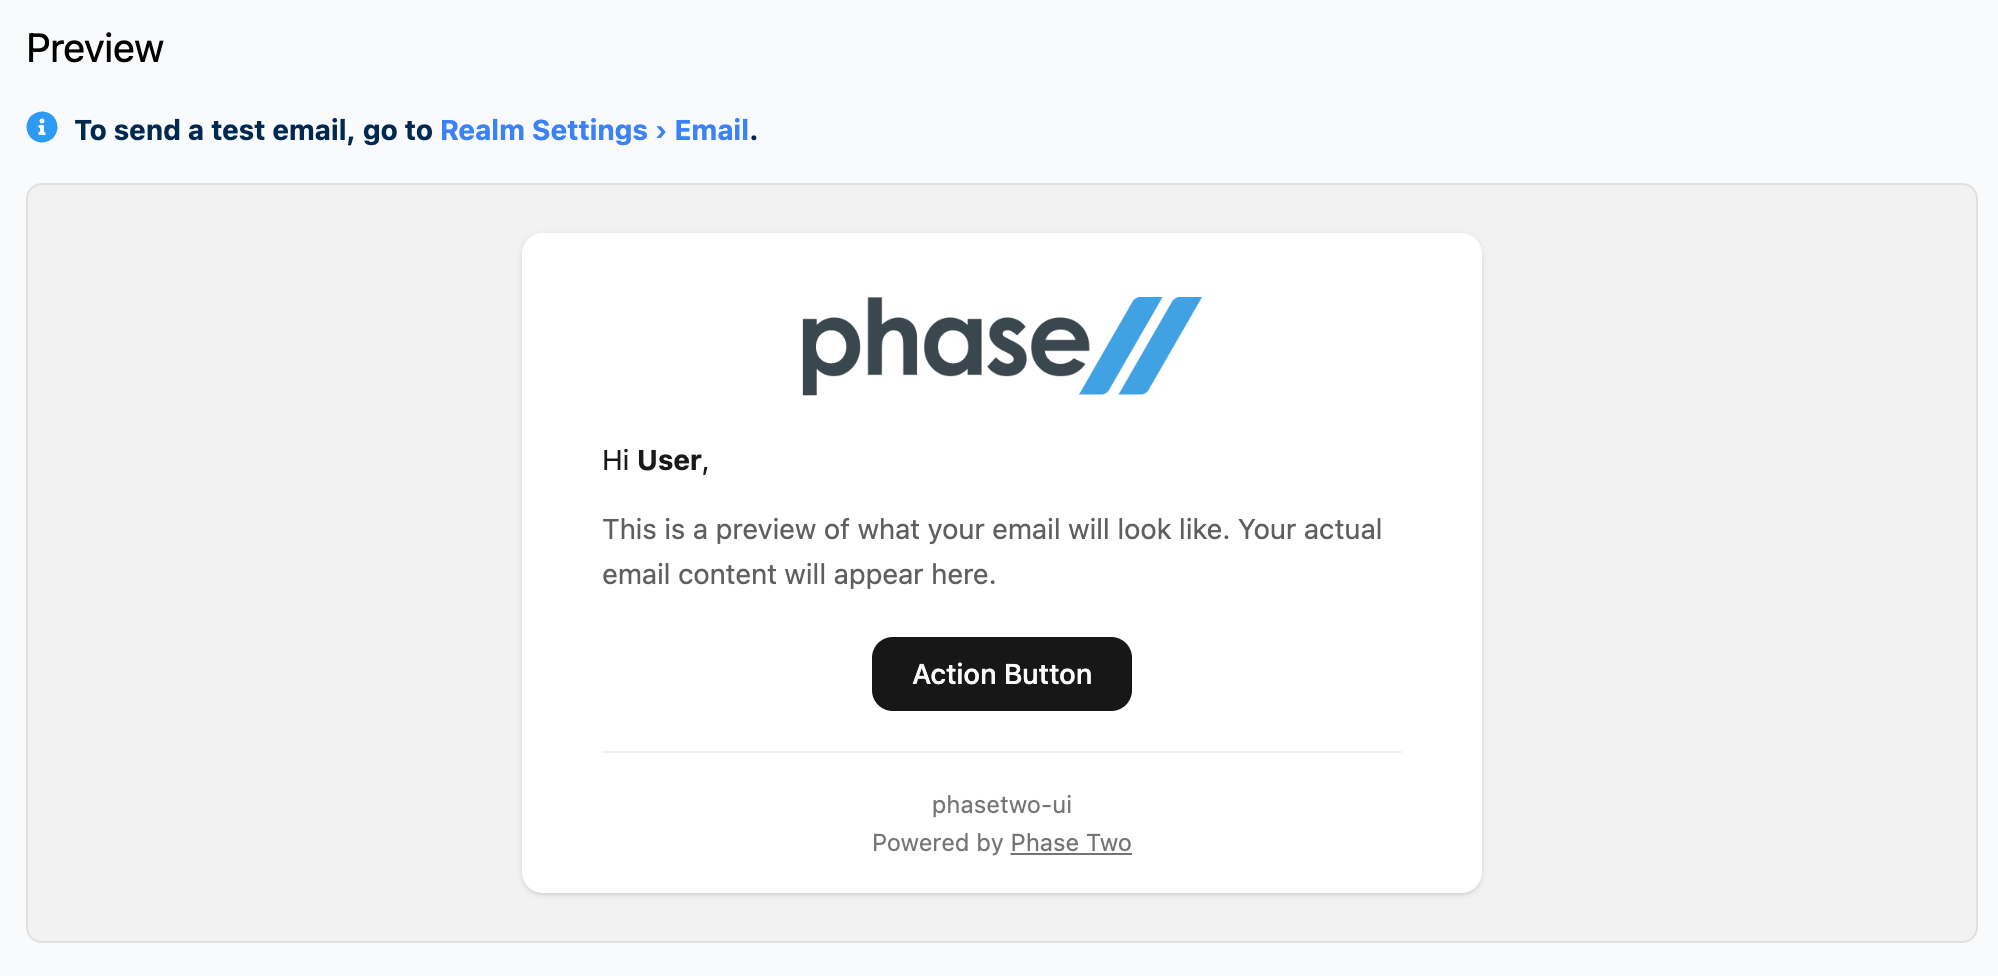
Preview
A live preview renders below the branding fields so you can see how your logo and footer will look before sending. To send a real test email, go to Realm Settings > Email and use the Test connection button.
Realm attributes
These values can also be set programmatically via the Keycloak Admin REST API:
| Attribute | Description |
|---|---|
_providerConfig.assets.logo.base64 | Logo as a base64 data URI |
_providerConfig.assets.email.footer.line1 | Footer line 1 (defaults to realm display name) |
_providerConfig.assets.email.footer.line2 | Footer line 2 |
Content templates
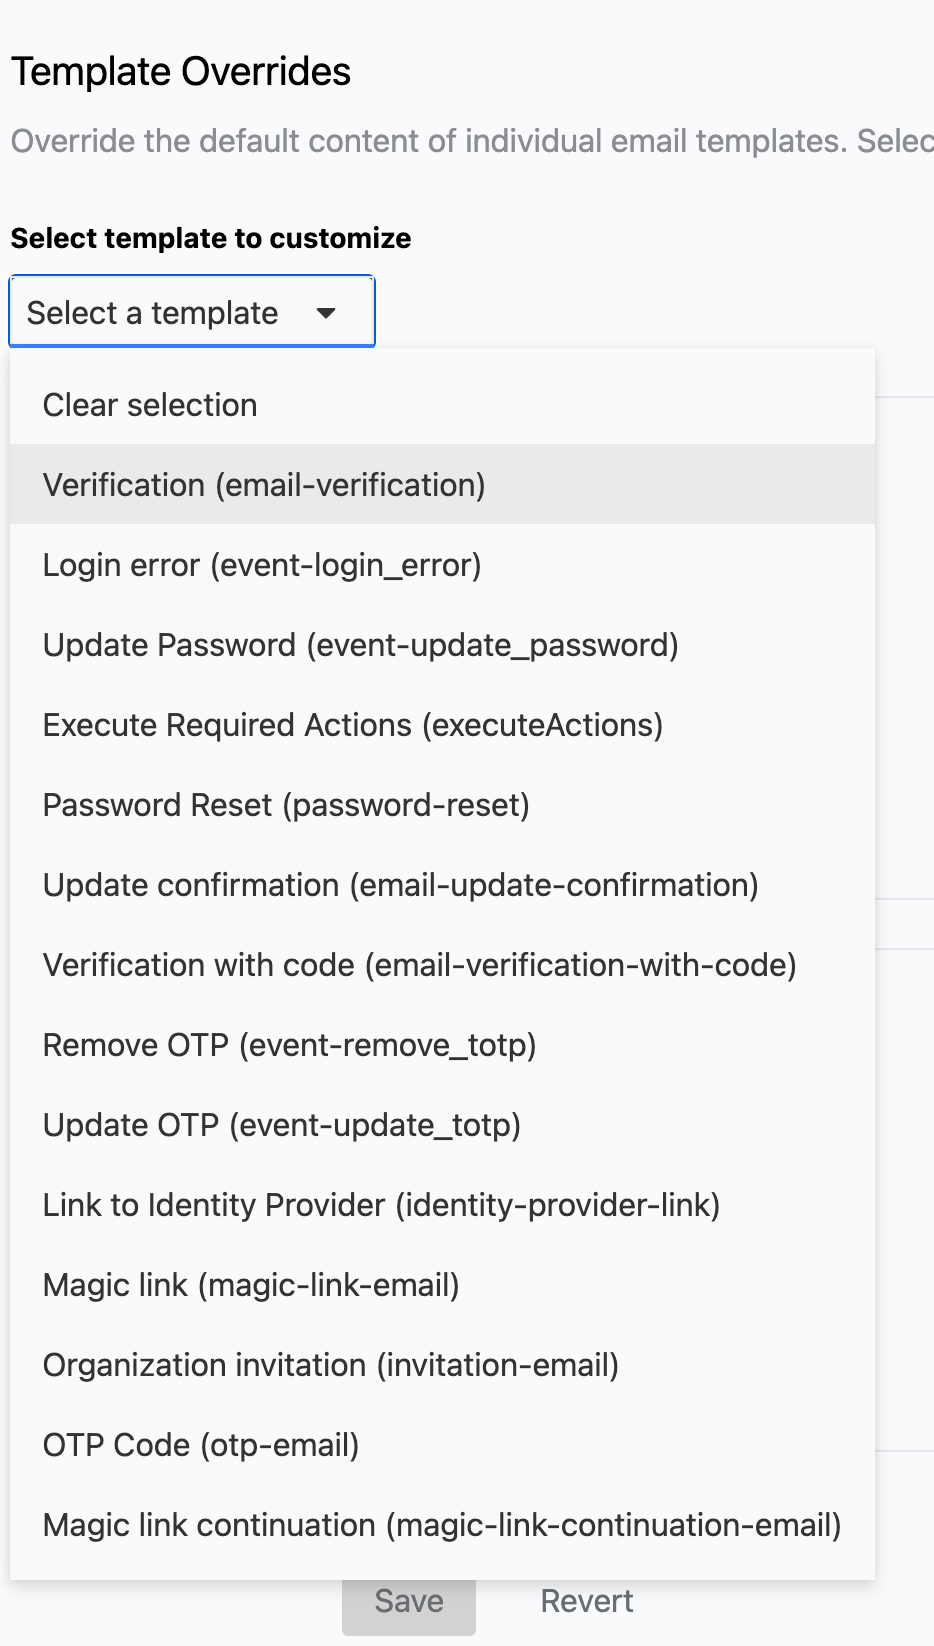
Email content can be modified in the Styles part of the Extensions section, in the Email tab (ensure the phasetwo-ui theme for both Admin and Email is applied). There are several default email types that you can modify.
- Execute Required Actions
- Link to Identity Provider
- Login error
- Magic Link
- Organization Invitation
- Password Reset
- Remove OTP
- Update OTP
- Update Password
- Update confirmation
- Verification
- Verification with code
The templates are made in both text and HTML, as emails are assembled as multi-part messages that can display either type depending on the user's email client and accessibility settings. You must edit content for both types if you are making changes.
Select a template from the dropdown to load its current HTML and plain-text versions into the editors, make your changes, and click Save. Selecting a different template or clicking Revert will discard unsaved changes.
We have created an example Email Template which we encourage use of.
Templating syntax
The syntax of the templates roughly follows that of mustache.js which allows the replacement of values using tags enclosed by double braces, like this {{name}}. Each email template type exposes a set of named values and objects that can be used in your templates. At minimum, they are:
user.usernameuser.firstNameuser.lastNameuser.emailuser.attributes.<name>realmNameurl.loginUrlurl.registrationUrl
Use the default templates to see the available variables for each template type.